(or right click and choose "Show Window")

Click Ok

as you will be able to tell from the camera status.
WARNING: Be cautious of how much video is being recorded. If you set the camera to ACTIVE during a busy period in the day, your hard drive may quickly fill up with videos (depending upon the COMPRESSION RATE).
a new COMPRESSION RATE or a new FRAME RATE,
continue with these instructions:
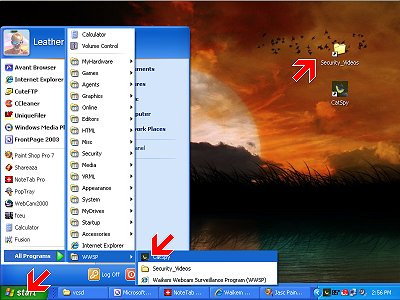
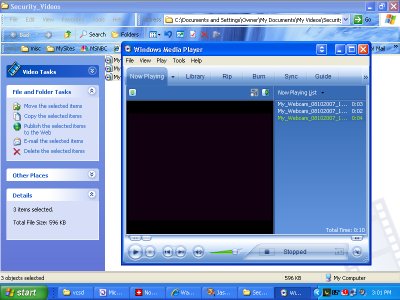
Double click on the Security_Videos
link on your desktop
(or click START | PROGRAMS | WWSP | Security_Videos)
MouseOver for more Info
Click to enlarge
Click to enlarge
a. Re-Open CatSpy
b. EDIT | CAMERA PROPERTIES
c. Change Schedule to "always_active"
d. Click Ok
e. Click ACTIVATE until the status is "OFF SCHEDULE"
f. Click FILE | SAVE
(or click the SAVE button on the toolbar)
g. Minimize CatSpy